Introduction
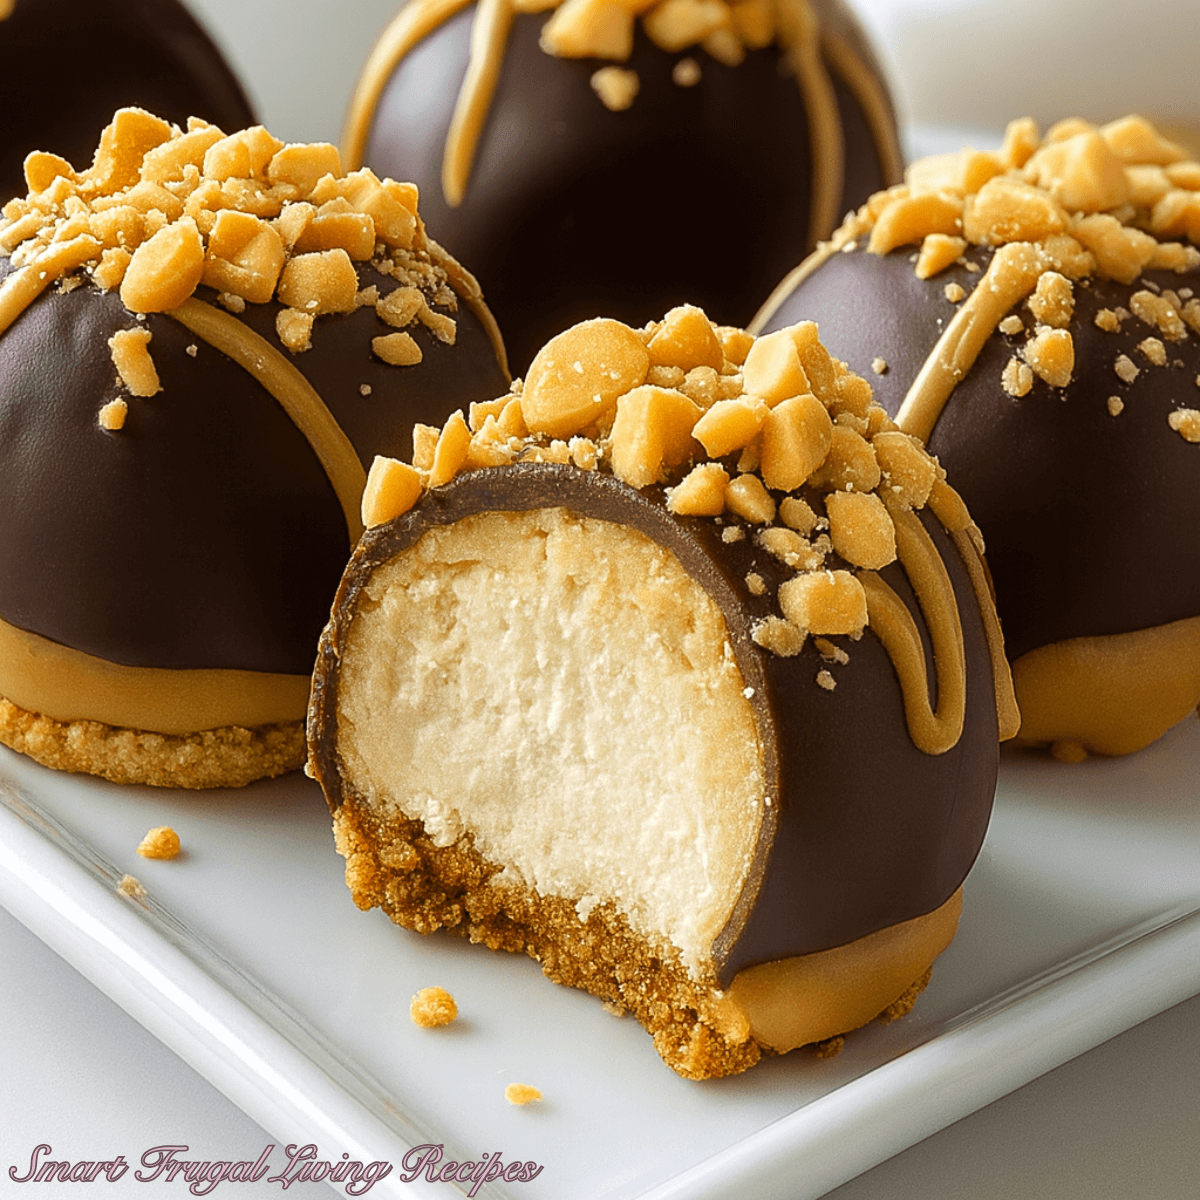
There’s something so delightful about bite-sized desserts—they’re easy to share, perfect for parties, and just the right size to satisfy your sweet tooth without feeling overwhelming. That’s why I absolutely adore these No-Bake Peanut Butter Cheesecake Balls. They combine the creamy tang of cheesecake, the nutty richness of peanut butter, and the irresistible sweetness of chocolate into one perfect little treat.
These cheesecake balls are like a cross between a truffle and a peanut butter cup, but with that creamy cheesecake flair that makes them extra indulgent. Best of all, you don’t need to turn on your oven. Everything comes together in one bowl, with just a bit of chilling time to firm up the mixture before dipping them in melted chocolate.
Whenever I bring a batch of these to gatherings, they disappear within minutes. People love the contrast of textures—the smooth peanut butter cheesecake filling inside and the snap of chocolate coating outside. You can dress them up with crushed peanuts, sprinkles, or even a drizzle of white chocolate if you want a festive touch. They’re endlessly customizable, which makes them great for holidays, potlucks, or even just a rainy-day kitchen project.
If you enjoy classic no-bake desserts like peanut butter balls or cheesecake truffles, this recipe is going to be a new favorite. It takes the best of both worlds and brings them together in the easiest, most satisfying way possible.
So, let’s get rolling—literally—and make these no-bake bites of bliss!
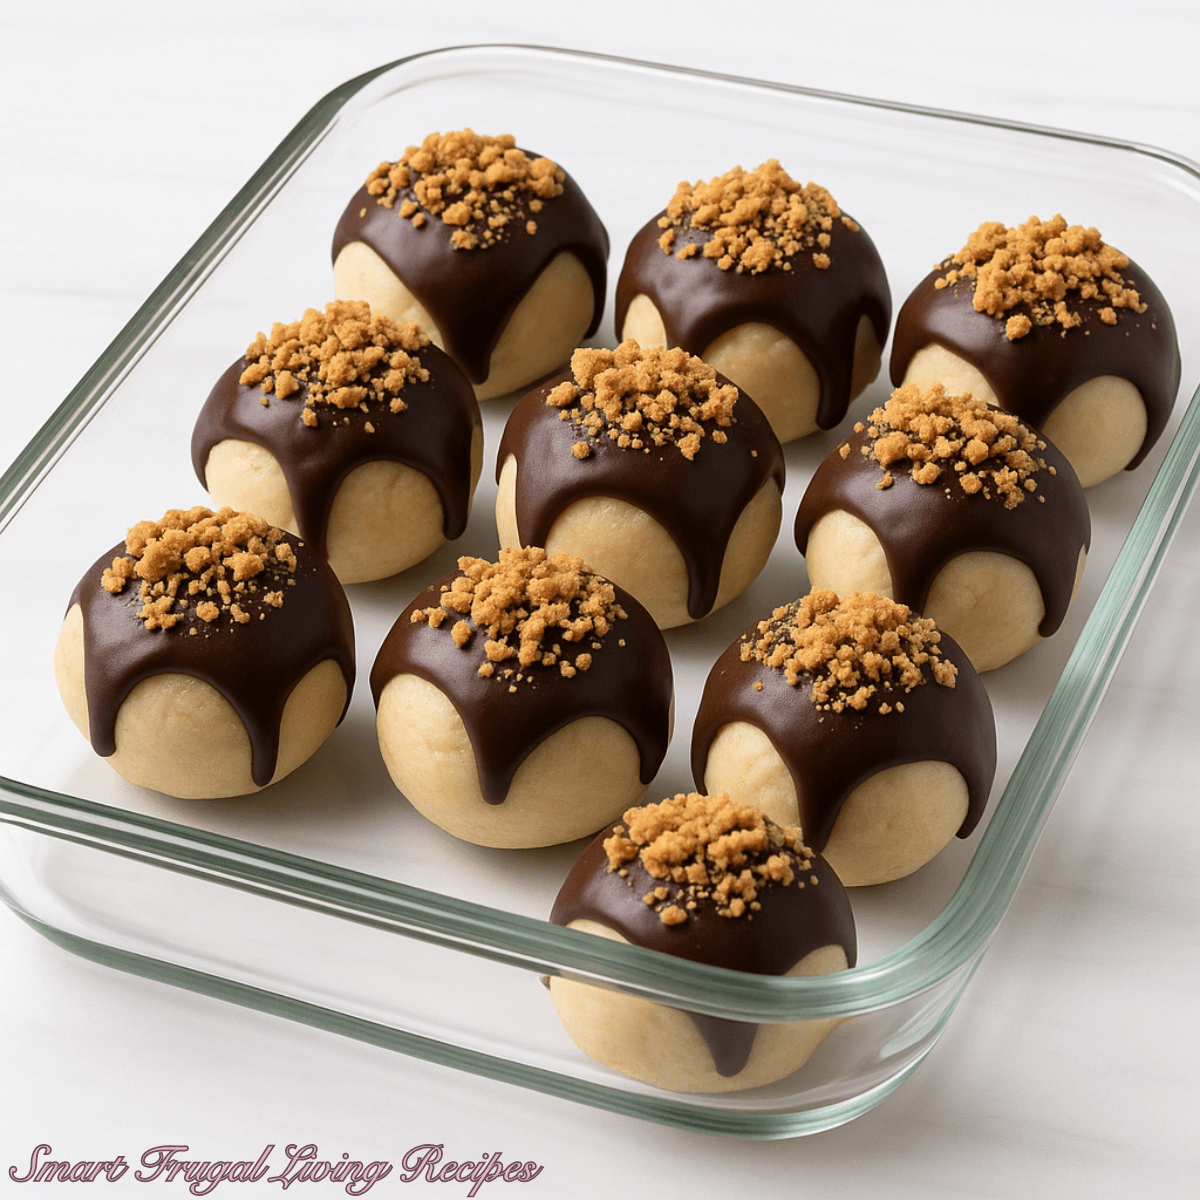
Peanut Butter Cheesecake Balls Recipe Card
No-Bake Peanut Butter Cheesecake Balls
Ingredients
Method
- Make the Cheesecake Filling
- In a mixing bowl, beat together softened cream cheese and peanut butter until smooth and creamy.
- Add powdered sugar and vanilla extract, mixing until fully incorporated.
- Stir in graham cracker crumbs until the mixture comes together and can hold its shape.
- Shape the Balls
- Roll the mixture into small balls (about 1 inch in diameter) and place them on a parchment-lined baking sheet.
- Chill in the fridge for at least 30 minutes, or in the freezer for 15 minutes, until firm.
- Melt the Chocolate
- In a microwave-safe bowl, melt the chocolate with coconut oil (if using) in 20-second intervals, stirring until smooth.
- Dip the Cheesecake Balls
- Using a fork or toothpick, dip each ball into the melted chocolate, letting excess drip off.
- Place back on parchment paper.
- Decorate & Set
- While the chocolate is still wet, sprinkle with crushed peanuts or colorful sprinkles.
- Chill again for about 15–20 minutes until the chocolate coating is fully set.
- Serve & Enjoy
- Store in the fridge until ready to serve.
Notes
- Active Time: ~25 minutes
- Passive Time: ~30 minutes chilling
- Use room-temperature cream cheese for easier mixing.
- Coconut oil is optional but makes the chocolate coating smoother and shinier.
- For neat dipping, use a fork to balance the ball and gently tap off excess chocolate before setting it down.
Advanced Techniques to Elevate Your Peanut Butter Cheesecake Balls
Adding a Surprise Filling in the Center
For an extra fun twist, tuck a mini peanut butter cup or a dollop of caramel into the center of each cheesecake ball before rolling. This creates a delightful surprise when you bite in. I love adding mini chocolate chips to the filling too—it gives bursts of texture inside the creamy ball.
Using Different Chocolate Coatings
While semi-sweet chocolate is classic, you can dip some in white chocolate or dark chocolate for variety. Drizzling contrasting chocolate across the tops makes them look fancy and bakery-worthy. For a holiday touch, red and green candy melts work beautifully too.
Rolling in Cookie Crumbs Instead of Dipping
If you want to skip the chocolate dipping step, try rolling the cheesecake balls in crushed graham crackers, Oreo crumbs, or even cocoa powder. This gives a rustic look and a slightly lighter version while still adding flavor.
Infusing Peanut Butter Flavor with Powdered Peanut Butter
For an even nuttier kick, stir in 2 tablespoons of powdered peanut butter (like PB2) into the filling. It deepens the flavor and gives a little extra structure, which is helpful if your mixture feels too soft.
Decorating with Drizzles and Garnishes
I love dressing these up for special occasions. A drizzle of melted white chocolate over a dark chocolate coating looks gorgeous. Crushed pretzels add a salty crunch, while sprinkles make them fun for birthdays. A little creativity with garnishes makes them feel tailor-made for any event.

Storage, Shelf Life, and Maintenance Tips
Refrigerating for Freshness
These cheesecake balls should always be stored in the fridge in an airtight container. They’ll stay fresh for up to 5 days. I like to place parchment paper between layers to prevent sticking.
Freezing for Longer Storage
You can freeze these for up to 2 months. Just wrap each ball in plastic wrap before storing in a freezer-safe container. Thaw in the fridge overnight before serving—they’ll still taste delicious and creamy.
Keeping the Chocolate Glossy
To maintain that shiny, snappy chocolate finish, avoid touching the balls too much once set. If storing for a party, keep them chilled until just before serving. Condensation can dull the chocolate, but a quick drizzle of fresh melted chocolate before serving revives their look.
Preventing Crumbly Texture
If your cheesecake balls feel crumbly after chilling, let them sit at room temperature for a few minutes before serving. The filling softens slightly, making them creamy again without losing shape.
Transporting Without a Mess
If you’re taking these to a gathering, store them in a flat container lined with parchment. Pop an ice pack under the container if traveling for more than 30 minutes, especially in warm weather, to keep the chocolate from melting.
Dietary Adaptations and Substitutions
Making Them Gluten-Free
Swap the graham crackers for gluten-free cookie crumbs, and you’ve got an easy gluten-free version. Many brands make GF graham-style crackers that blend in seamlessly with this recipe.
Vegan Peanut Butter Cheesecake Balls
For a vegan-friendly version, use dairy-free cream cheese and vegan chocolate. Coconut cream can replace cream cheese if needed, giving a slightly different but still rich texture. Peanut butter is already vegan-friendly, so no worries there!
Lower Sugar Options
You can cut back on powdered sugar by half if you prefer a less sweet dessert. For an even lighter option, use a sugar substitute like powdered erythritol or monk fruit blend. Sugar-free chocolate chips also work well for the coating.
Making Them Nut-Free
If you or someone you’re baking for has nut allergies, substitute sunflower seed butter or cookie butter for the peanut butter. Both create creamy, indulgent cheesecake balls without the peanuts.
Lightening Them Up
For a slightly lighter treat, use reduced-fat cream cheese and natural peanut butter with no added sugar. You can also coat them in dark chocolate, which has less sugar than milk or semi-sweet.
FAQs About No-Bake Peanut Butter Cheesecake Balls
Can I Make These Ahead of Time?
Yes! These cheesecake balls are ideal for making ahead since they store well in the fridge. I usually prepare them a day before serving, and they’re perfect when chilled.
Why Is My Mixture Too Soft to Roll?
If the filling feels too sticky, just add a bit more graham cracker crumbs until it firms up. Chilling the mixture for 15 minutes before rolling also helps make it easier to shape.
Do I Have to Use Coconut Oil in the Chocolate?
No, coconut oil is optional. It simply helps the chocolate melt smoother and gives a glossy finish. If you don’t have it, just melt the chocolate on its own.
Can I Use Crunchy Peanut Butter Instead of Creamy?
Definitely! Crunchy peanut butter adds little bits of nut texture inside the cheesecake balls. If you love that extra crunch, it’s a fantastic swap.
How Do I Keep the Balls Round After Dipping?
The trick is to gently shake off excess chocolate before placing them on parchment. If a flat side forms where they sit, you can drizzle more chocolate on top to round them out.
Conclusion & Final Thoughts
These No-Bake Peanut Butter Cheesecake Balls are the perfect treat for when you want something sweet, creamy, and a little indulgent without much effort. They combine the best flavors—peanut butter, cream cheese, and chocolate—into a bite-sized dessert that’s just as fun to make as it is to eat.
What I love about them is their versatility. You can dress them up for a party with sprinkles or keep them simple with just a glossy chocolate coating. They freeze beautifully, making them a wonderful make-ahead treat for holidays or busy weeks when you want a quick dessert on hand.
They also adapt easily to different dietary needs, from gluten-free to vegan, so they can be enjoyed by just about everyone. Personally, I like making a mix of dark chocolate–coated and white chocolate–drizzled ones for variety. The platter always looks so inviting, and there’s truly something for everyone.
So, next time you’re craving a no-bake dessert, give these cheesecake balls a try. They’re quick, simple, and guaranteed to bring a smile to anyone who takes a bite. For me, they’ve become a go-to recipe whenever I want to share a little homemade joy in bite-sized form.